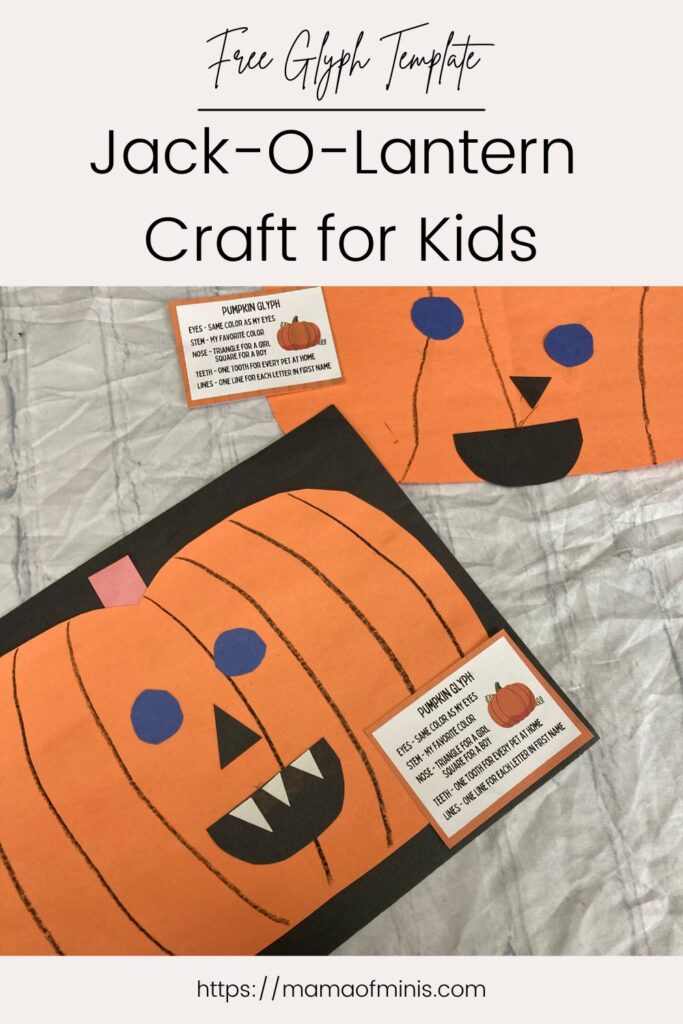
Easy Pumpkin Glyph Craft for Preschool and Kindergarten
This pumpkin glyph craft for preschoolers, kindergarteners, and more is the perfect Halloween or Thanksgiving craft for kids. It uses simple materials found around the home paired with a free pumpkin glyph template to make this fun glyph.
It includes a free poster template to attach to the finished project and can be turned into a fun decoration for the home or a Halloween bulletin board idea for the classroom.
For this easy jack-o-lantern craft you will need construction paper in different colors, and the free glyph template found below. You will also need scissors and a gluestick to complete the craft. You can choose to free hand the pumpkin outline or you can print a template like this one found at onelittleproject onto a piece of paper.
For another fun Halloween themed craft idea be sure to also check out these tape resist painted pumpkins.
Pumpkin Glyph Craft Tips for Success
*For this project, you can choose to prep the materials ahead of time or you can have little ones that are more capable cut the shapes out on their own. It is a great craft for little ones to practice free hand drawing and cutting shapes as each pumpkin will really look unique.
*Included below is a glyph template that tells more about the glyph. This is great to glue onto the project afterward. This is especially helpful if you are completing it with a preschool or kindergarten class. Then students will be able to share with their parents more easily.
*This is also a great craft to share with a class or group of kids. You can mix up a pile of them and have students or kids guess whose pumpkin is whose using the glyph directions. This will be a fun game for them!
Pumpkin Glyph Craft for Preschool and Kindergarten
Materials
- Construction paper in different colors
- Scissors
- Glue stick
- Glyph template
Pumpkin Glyph Craft for Kids
- Draw and cut out an orange pumpkin shape.
- Follow the directions of the glyph to create your pumpkin.
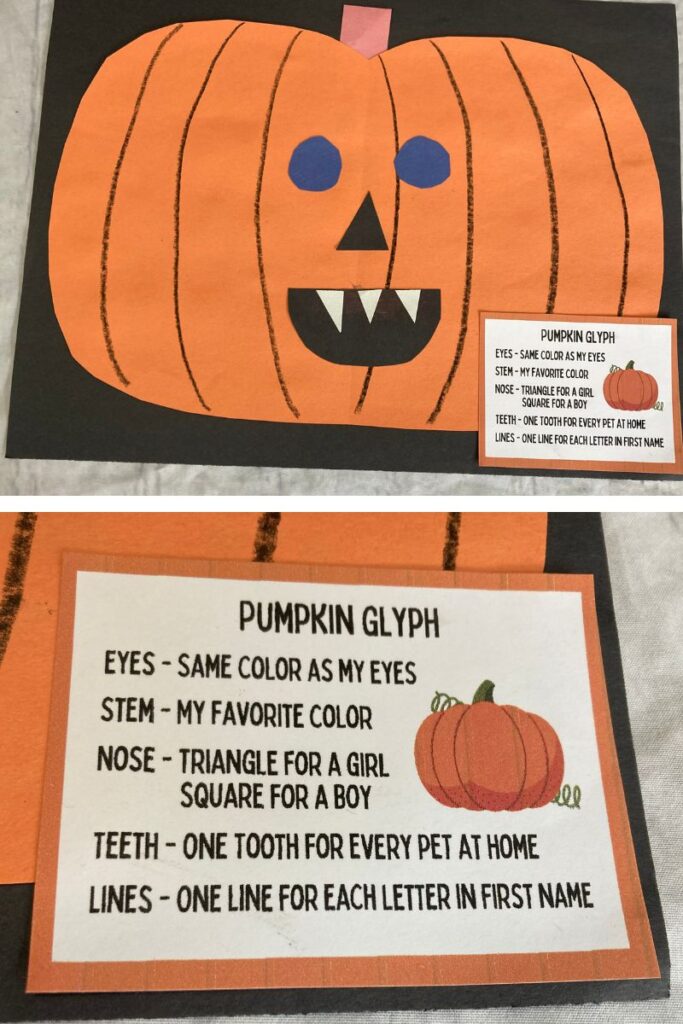
- Using a black crayon or pencil draw lines from the top of the pumpkin down to create the pumpkin’s “ribs.” Space them apart as equally as possible. Draw one line for each letter in your first name.
- Cut out two circles that are the same color as your eyes and glue them onto the top of the pumpkin.
- Cut out a triangle (of any color) if you are a girl and a square if you are a boy and glue it underneath the eyes on the pumpkin to make the nose.
- Cut out a black semi-circle mouth shape and glue it underneath the nose.
- Cut out triangles for the teeth and glue them inside of the pumpkin’s mouth. Cut out and glue on one triangle for each pet you have at home.
- Cut out a stem in your favorite color and glue it to the top of the back of the pumpkin.
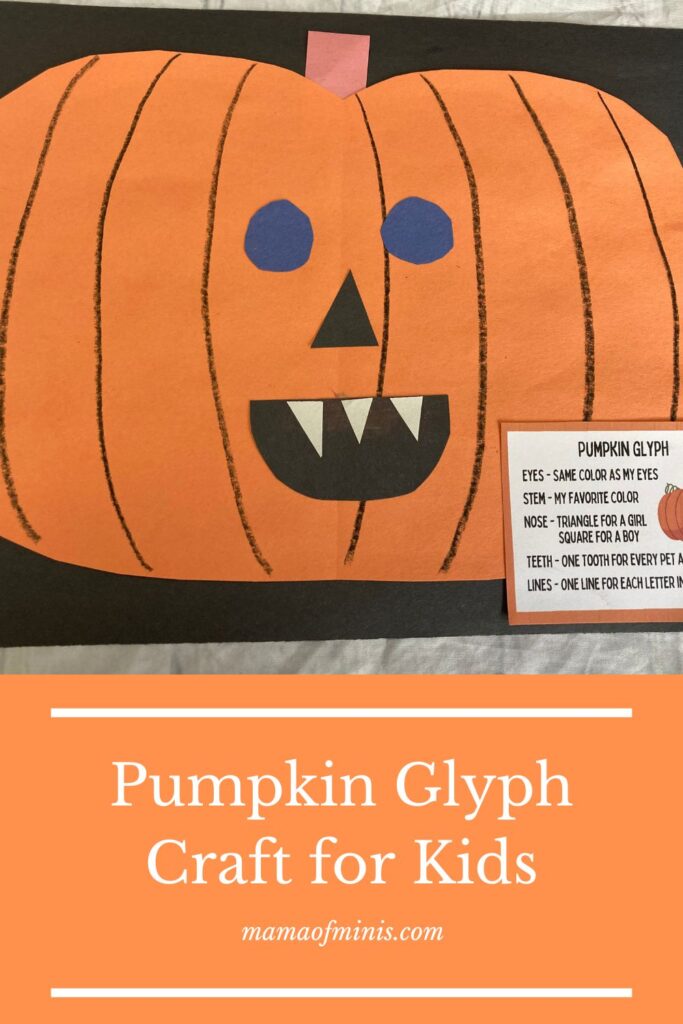
- Glue your pumpkin to a black background (or skip this step if you want a plain pumpkin). Glue the pumpkin glyph sheet to the side of the pumpkin or on top of the black background to complete the project.
Additional Halloween Craft Fun
We love fun Halloween crafts and this pumpkin glyph craft makes the perfect one. Check out the list below to find some more of our favorites:
- Lacing Spider Craft – create a fun paper plate spider and practice lacing and beading skills with the legs in this fun spider themed craft.
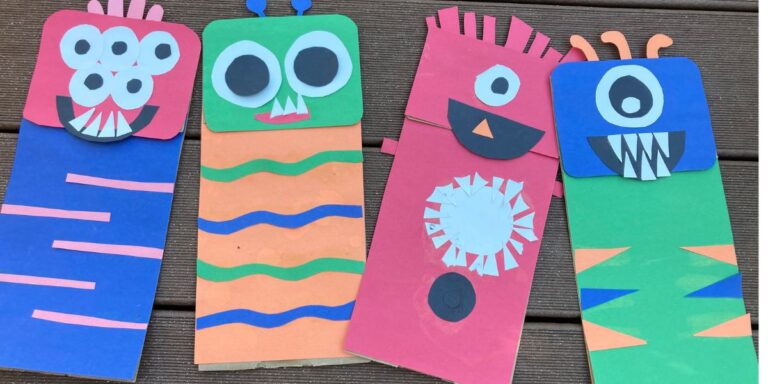
- Paper Bag Monster Puppets – these monster puppet crafts use a paper lunch bag and construction paper to create fun and unique Monster puppets that are perfect for pretend play.
- Tape Resist Pumpkins – these fun pumpkins show a way to decorate a pumpkin that doesn’t involve cutting out the insides. Kids will love creating fun tape designs on their pumpkins.