
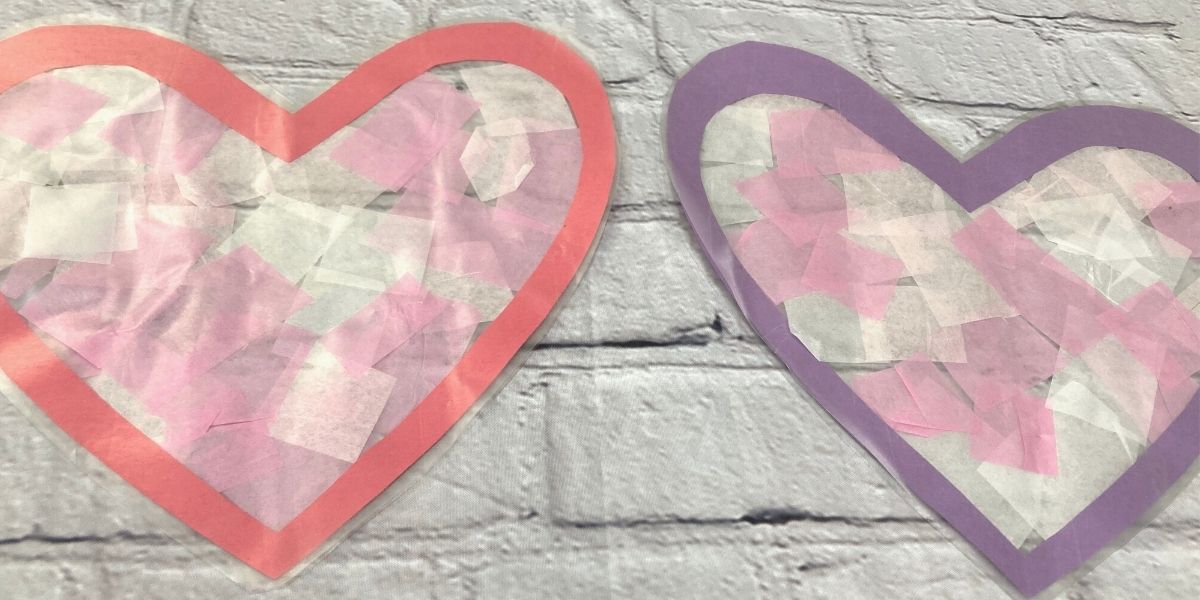
Stained Glass Craft for Kids
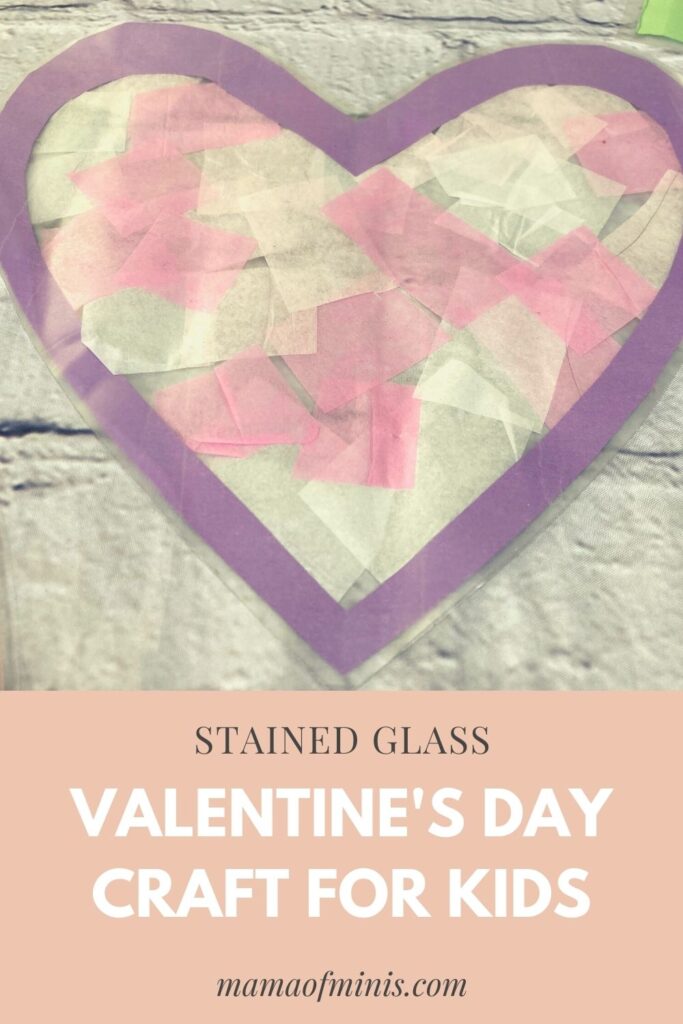
This stained glass craft for kids is the perfect easy tissue paper craft for children of all ages. It can be easily made with children as young as 1 year old all the way up to grade school-age children.
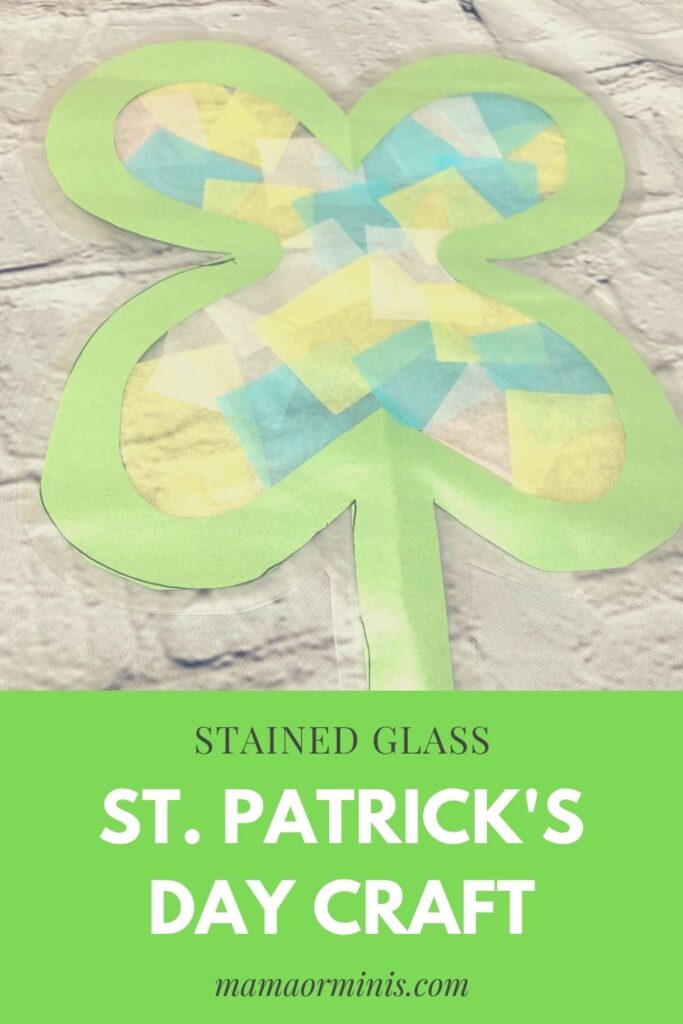
Once complete these stained glass crafts make the perfect decoration to hang in a window or on a glass door and can be made to go with any holiday desired. Make one large one or many small ones to really fill up your house with holiday/seasonal cheer.
For this craft, you will need clear contact paper, tissue paper in different colors, scissors, and construction paper. For younger children, you may need to prep the items ahead of time to help ensure success. Older children may be able to do this much more independently.

Tips for Success
*When making these stained glass crafts I’ve found that cutting the tissue paper in 1″ squares or smaller works best. The smaller the squares the cooler the colors that come through your stained glass project will show up.
However, larger squares are better for children with shorter attention spans. Think about the age child you are working with and cut the size of your squares depending on this.
*When cutting out your project in the end be sure to leave a small amount of contact paper around the outside of the construction paper image. This will help to seal the contact paper shut. If you cut too close to the construction paper image your project may start to peel apart.
Stained Glass Craft for Kids Directions
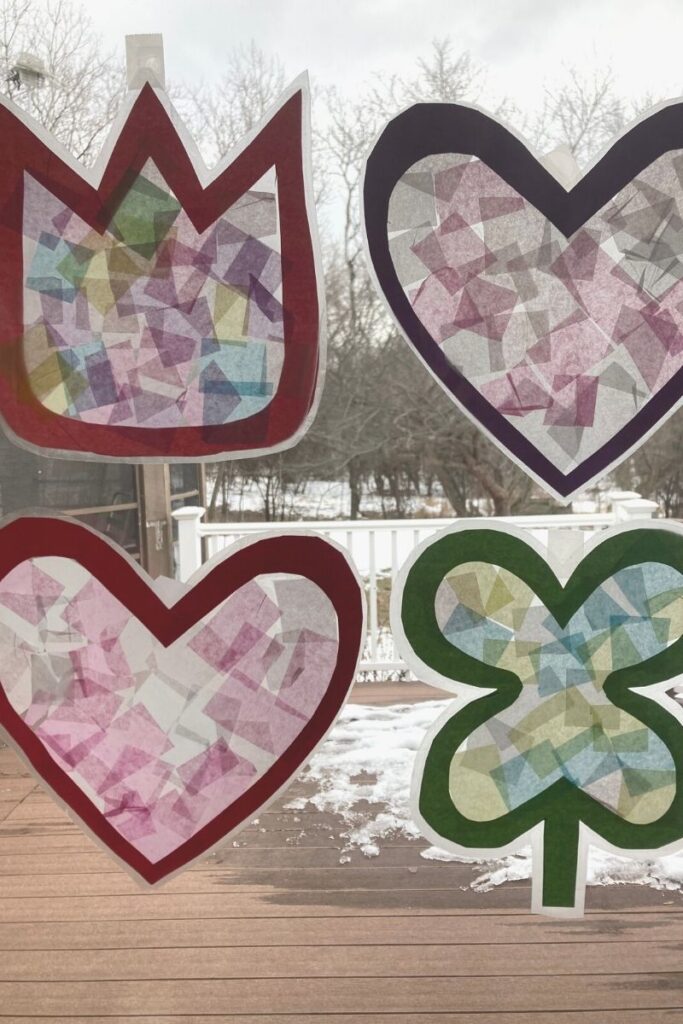
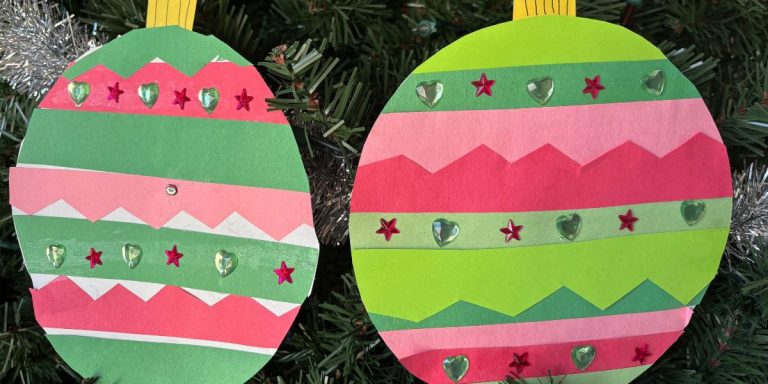
1. Cut out a large heart or other symmetrical holiday image (IE shamrock, Christmas tree, Easter egg, flower, pumpkin, etc…) from construction paper.
2. Cut the inside out from the construction paper image so that you have an image outline of about 1/2in all the way around.
3. Lay the construction paper image outline on top of the contact paper and cut out two contact paper squares just larger than your construction paper image.
4. Peel backing off of one of the contact paper squares and carefully lay your image outline down on contact paper. Push all about to make sure it sticks well.
5. Lay/stick 1″ or smaller tissue paper squares of complementing colors all around the insides of the image. Try your best to keep any squares from going outside of the construction paper image.
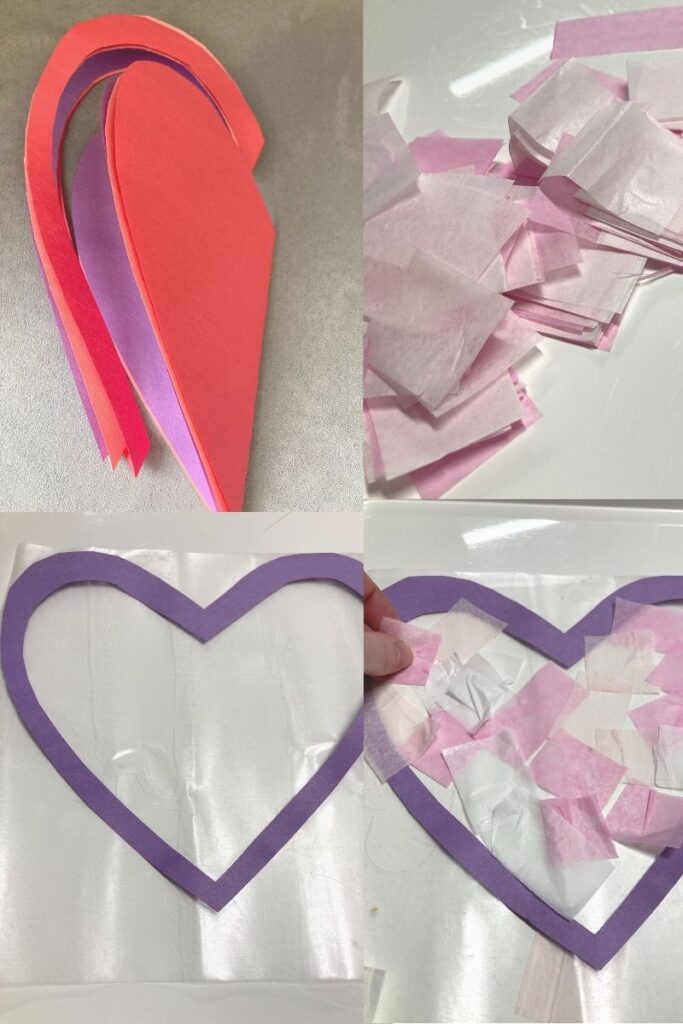
6. Fill image completely with tissue paper squares, overlapping in some spots when necessary.
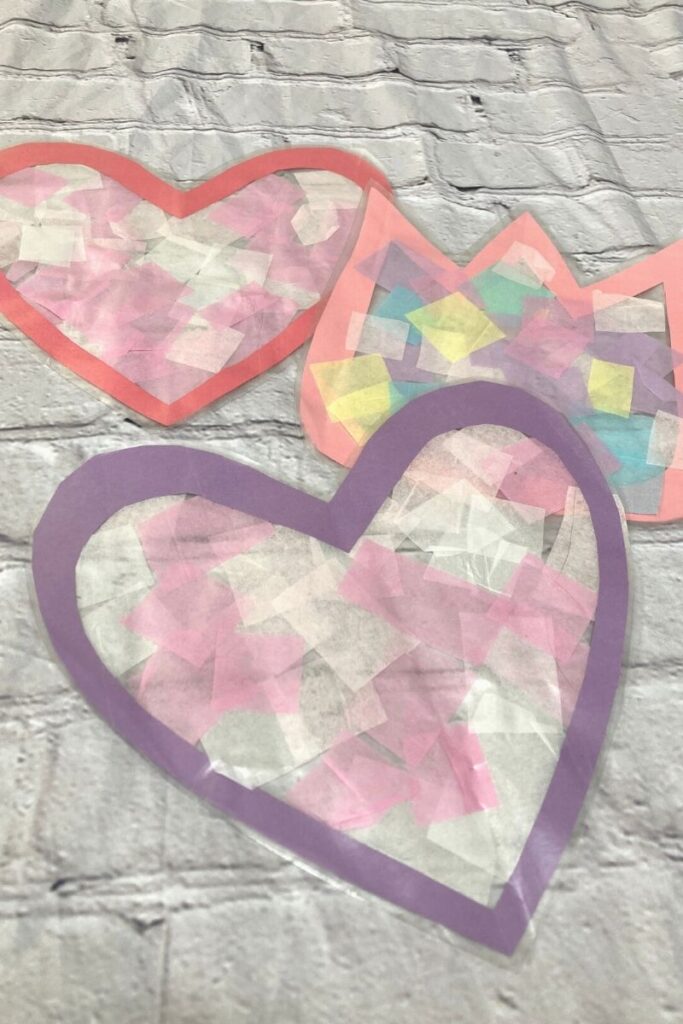
7. Peel the backing off and lay your other piece of contact paper over top of your construction paper image and tissue paper squares.
8. Cut around the outside of the image to cut out of the contact paper but leave around 1/4″ of clear contact paper border on the outside to ensure the seal keeps and the project doesn’t peel apart.
9. Hang the completed project with tape or use a hole punch and string to hang your stained glass heart or other holiday images in a window or glass door.
For another fun holiday decoration that can be made using a simple holiday image check out this mess-free box painting craft. Perfect for creating marble-painted crafts.


This is such a cute craft to do with your little ones for Valentine’s Day! I’ll have to try it with my son.
Thank you so much! I hope he enjoys it as much as my little ones did!
Love this idea!!!
Thank you!
So cute! My daughter will love this craft.
Thank you so much! I hope she enjoys it!
This is a fantastic family craft. I need to get it together for Monday!
Thank you so much. I hope they enjoy it! Yes, such a fun thing to do as a family!