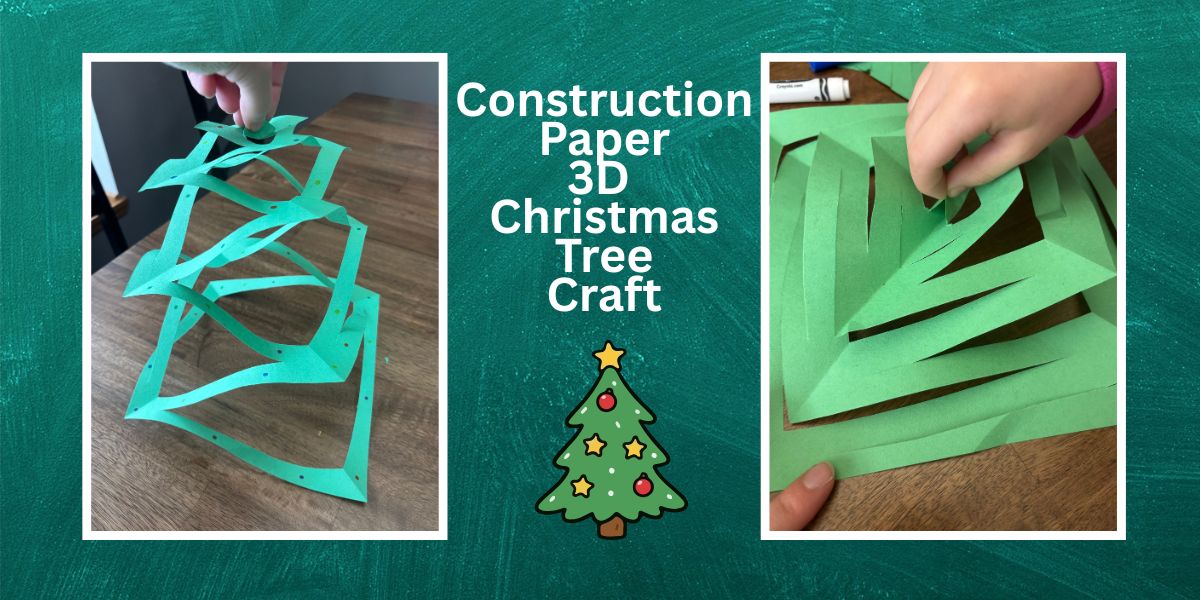
Construction Paper 3D Christmas Tree Craft for Kids
This fun construction paper Christmas tree cut-out craft for kids uses a square of green construction paper and a scissors to make the cutest 3D Christmas tree craft.
This fun Christmas craft is festive and as easy to make as your classic cut-out snowflakes at Christmas time. It makes the best Christmas decorations for kids of all ages, and each one turns out so cute.
Just follow the directions below to cut out your Christmas tree and then decorate it with whatever embellishments you desire. For more fun Christmas tree crafts, be sure to also check out this fun paper strip Christmas tree.
3D Christmas Tree Craft Tips for Success
- When making your 3D Christmas trees, you should use any square piece of green paper.
- When cutting the lines for the tree, be sure not to cut all the way through the paper, or you will cut the top of the tree off. Younger children may need a little more help and direction to make sure they stop before reaching the end of the paper.
- Once your trees have been cut out, you are able to decorate your tree. Use markers, crayons, colored pencils, glitter glue, sequins, stickers, and more. Draw on ornaments and add a star at the top of the tree.
- When pulling your tree up from the inside to create the 3D effect, be sure not to pull too hard, or you will rip the tree.
- You can use a hole punch to punch out the middle of the top of the tree and attach a string. Then the trees can be hung from a mantle, ceiling, doorway, and more to create a fun winter wonderland.
3D Christmas Tree Cut-Out Craft
Materials:
- Green Construction Paper
- Scissors
- Embellishments of Choice:
- Markers
- Colored Pencils
- Crayons
- Stickers
- Glitter Glue
- Sequins
Directions:
- Cut the edge of a green paper down about 2″ to create a green construction paper square.
- Fold the square in the middle to create a triangle.
- Fold the triangle one more time to create a smaller triangle.
- Starting at the top point of the triangle, cut a slit in from the right side. Leave about 1/2 inch at the top before you make the cut. Cut the slit so there is about 1/2 inch left on the left side.

- Slide down another 1/2 inch and cut a slit in this time from the left side. Be sure to leave about 1/2 inch of space on the right side.
- Continue this process, going all the way down the triangle. Each slit/line you cut should get longer as you go. Leave about 1/2 inch left on the bottom of the triangle.
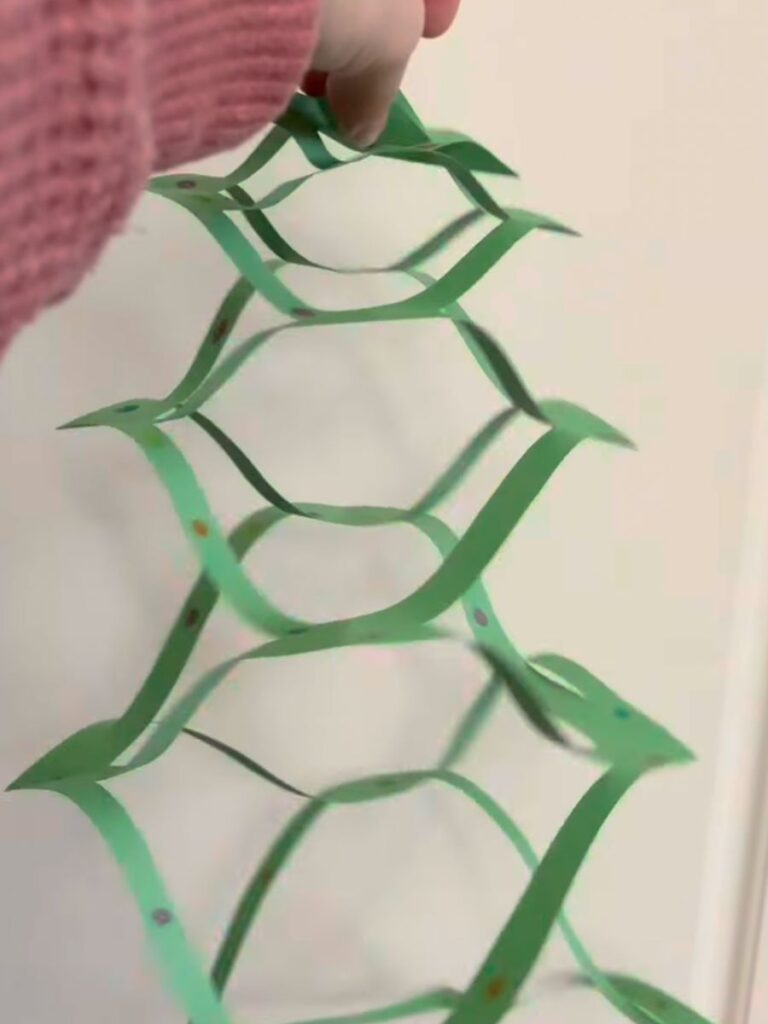
- Slowly open your triangle until your square lies flat.
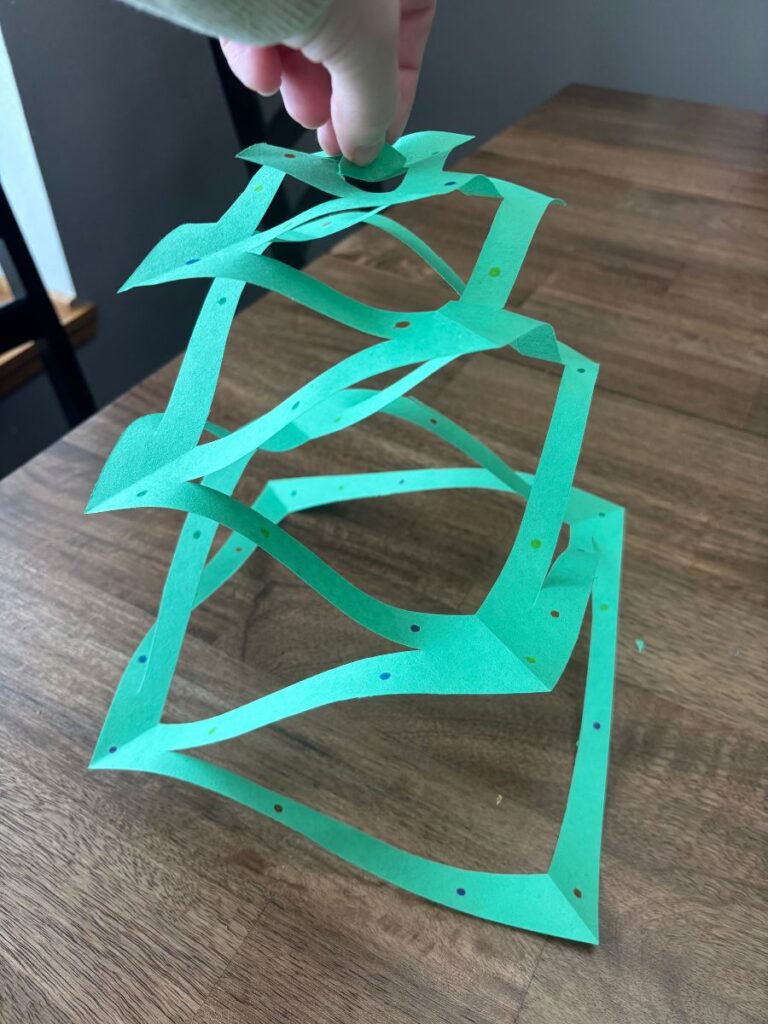
- Add or draw on ornaments with stickers, markers, etc…
- Add a star with a sticker or marker to the very middle of the green square Christmas tree.
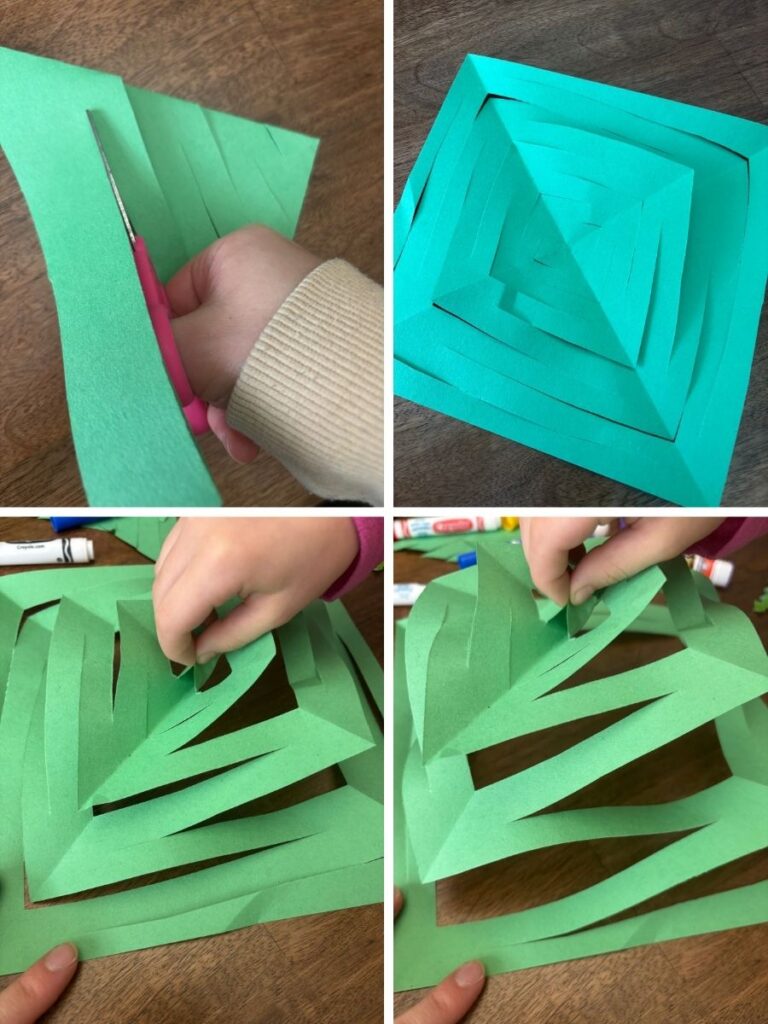
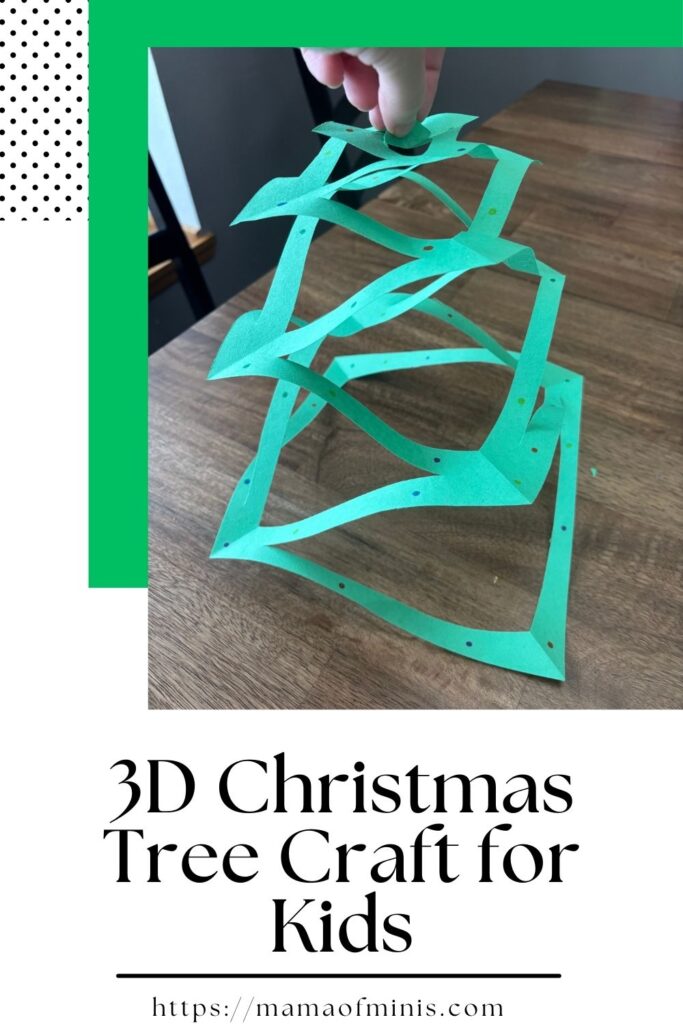
- Grab the middle where your star is and slowly pull your tree upward to create the 3D shape.
- Add a string to the middle if you plan to hang your tree.
For more fun holiday Christmas tree crafts, be sure to also check out this fun paper plate spiral Christmas tree or this fun build a Christmas tree creative craft.